Share |

Saturday, May 8, 2010

Background Color

My mission was to take the photos of the baby. I was neither thinking much on how to position the baby, nor the kind of background that best bring out the baby.

I was tired of squating down to shoot the baby. Since the light from the windows was shinning at the sofa (gave me fast enough shutter speed), and I would be able to sit down on the floor to shoot the baby, I get the baby up to the sofa. The baby can roll around the sofa comfortably without worrying knocking his head on the floor. Of course, I am guarding the edge of the sofa to prevent the baby from falling down straight to the floor.

After shooting and checking on the photos, I noticed that the sofa background color was pretty good in bringing out the color of the baby's skin. He was fair, and the background was dark. The contrast made the baby outstanding. Hmm... the baby looked good with dark brown background.

I was shooting at f1.8 at 50mm. It helped to create the depth of field isolating the baby, emphasizing the baby while de-emphasizing the foreground (seat cushion in front of the baby) and background (back cushion behind the baby).


Album: http://picasaweb.google.com/kcshashin/BabyShots25Dec2008

Monday, May 3, 2010

Directional light

Sometimes I heard people talking about directional light. Photos can turn out good by not shinning the light source directly on to the person's face. So it is not surprise that we see photographers with external flash always trying to bounce the flash to create a directional light. Unfortunate for internal flash though, as it always shines direct to the object.

With the baby lying down on the floor, I noticed the shadow of his nose on his right face. The light was shinning from the left side through the windows. I thought the shadow might make the photo looks good, so I took a few shots, with flash off, and room light off.


I think directional light is good for potrait shots as it creates shadow and contrast. Hmm... but I don't think is a good idea to play too much on the directional light when taking group photos. Someone face will be covered with shadow...

Album: http://picasaweb.google.com/kcshashin/BabyShots25Dec2008

Sunday, May 2, 2010

Smile, baby smile~

I was visiting a family on Christmas day to see the huge xmas tree they put in the house, and their new born baby. Maybe not so new (7 months old?)?

My friends wanted me to take photos of their baby. I tried a few shots to check the lighting in the house. First, I did it with the ceiling light on, but it wasn't bright enough. The photos turned out a bit under exposed. Later, I tried with the internal camera flash, the effect was just too harsh (I did not have an external flash yet...).

It was noon and there was sunlight shinning into the house through the windows. So I opened the curtain and just used the sunlight through the windows. To get a proper expose photo of the baby, I had the baby sitting down facing the light with the xmas tree behind him.


I pushed the ISO up to 800 to let more ambient light in to my camera (and also to get a higher shutter speed) , and shot the baby with f1.8. The f-stop helped to create bokeh effect on the xmas tree deco, which made the baby and his smile (also bokeh - no teeth) stood out.

I can see his saliva dripping too~

Album: http://picasaweb.google.com/kcshashin/BabyShots25Dec2008

Tuesday, April 27, 2010

Waist level

This kid was very shy and kept looking away from my camera. Whenever I held my camera up and pointed towards her, she would instinctively look away. I could not press the shutter fast enough and ended up with a few blur shots (due to low light condition).

I decided to try shooting 'blindly'. I set the multi-sensor Auto Focus to let the camera find its own focus point. Then I hold my camera down at the waist level when the kid was not looking at me.

Luckily I managed to capture her image at one trial, if not she would definitely notice that I was snapping her photo!

Album: http://picasaweb.google.com/kcshashin/BabyAndKidShotsDec2008

Saturday, April 24, 2010

The big eyes

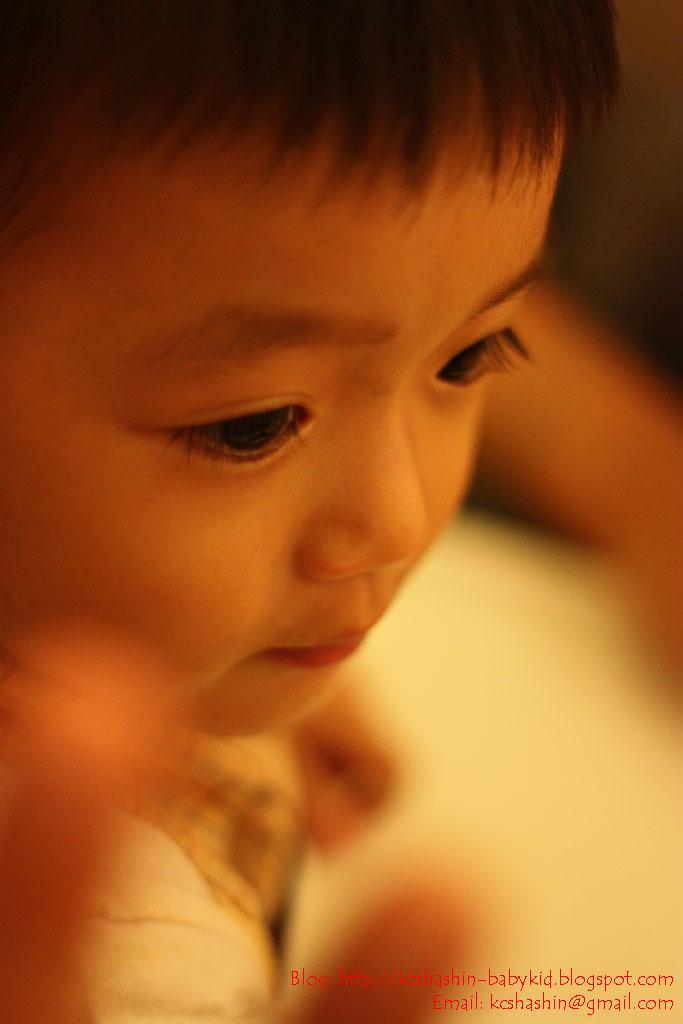
Couldn't help kept looking at the big eyes and long eye lashes of this baby.

I was finding a chance to shoot an innocent look of him. While he was staring at the food, I quickly focused on him and pressed the shutter. Where was the best spot to focus on? The eyes, obviously. They were just too big~ =D

The room lighting was low, so I pumped the ISO up to 800, and kept the aperture of the lens wide open.

I was lucky to get this shot! Babies are very active and they will not sit still, especially baby boy...

I adjusted the color level of the original photo (on the right) in photoshop. The original photo was yellowish due to the lighting of the room.


I like this photo a lot and decided to set it as the background of this blog.

To make the photo blends into the white background, I used the 'Gradient' function in photoshop. It helped create a soft look on the photos.

This is how I do it. First, open up the photo in photoshop, the photo will show up as a background layer. Select the whole image and copy into a new sheet. The reason being photoshop will not let you modify anything that is classified under background.

In the new sheet, the image will show up as 'layer 1'. Add a layer mask to this image (layer 1). Next, select 'Gradient' tool from the toolbar, and start playing with the tool until you get a satisfying result. Below is the after processing photo.

Album: http://picasaweb.google.com/kcshashin/BabyAndKidShotsDec2008